Showing posts with label Crafts. Show all posts

Sunday, December 7, 2014

DIY Christmas Picture Ornaments

Every year we give our kids a new ornament to represent a memory form the year. Sometimes its from a place we visited or can be from a fad they are into. For example this year my girls love Frozen. The problem is the demand and cost of frozen ornaments is ridiculous. I decided to make my own.
I started with buying this little wood rectangles from my local hobby store. They came with 4 to a pack. You can paint this if you want just make sure they dry all the way before moving on to the modge podge part of it.

Then I printed out the pictures  I waned on picture paper from my printer. Then I modge podged them on.


The wood  was so soft I just used a screw driver to punch a whole in them and string them. My girls loved them! They were so excited to hand them on the tree. The other nice thing is that there was plenty of room to put their names, the date and a little story on the back.

Monday, July 14, 2014

Making Your Own Crayons

One of my easy go to gifts for holidays or kids birthdays is a coloring book or printed coloring pages with homemade crayons. It's a great way to get rid of some of those nasty, old, broken and sad looking crayons you have laying around.
Step 1: Break up pieces of crayons into muffin cups. If you have bakeware in cool shapes you could do it straight in them, but I don't so this is how I do it.


Step 2:Put them in the oven on the lowest setting.
Step 3: When they are liquidey then pull them out.

Step 4: Then I pour the muffin cup carefully into the shaped container. These are ice cube trays I picked up at Ikea for a dollar. I have used jello jigglier molds as well, but they don't pop out as easy, but are great for seasonal gifts.

Step 5: Let them cool down.

 Step 6: Then just pop them out and voila! cool crayons!

Thursday, January 9, 2014

Christmas Day

We had a wonderful Christmas and I wanted to share a few of the highlights.
 
 
 The best part of the whole day was seeing my brothers face on Skype. My brother is serving a mission for the LDS church in El Salvador. He is my partner in crime, and I miss him. I am counting down till he comes home. I got to see his handsome face and have a few laughs with him. We got to talk to him for a little over 2 hours. Every time we talk to him (which is Mother's Day and Christmas) I bring a pineapple and we put it in the back round or hold it. Sometimes we stick it behind people heads like bunny ears, and all sorts of goofiness.
 
 
 I also made my niece and nephews presents this year. I made shirts for them. My nephew is always quoting movies so I made him this one.


First I went to Dafont.com and downloaded the Movie Film strip font. Search for film and it should come up. Then I printed it on iron paper that I purchased at Hobby Lobby with my 40% off coupon.
 
My niece is a big Harry Potter fan so I made her these 2 things. The shirt I just googled the image I wanted and printed it on the same iron on paper.


Then over the year I tried to collect as many skeleton keys as I could when I cam across them. Then I bought some cheap butterfly ornaments and tore them apart and glued the wings to the keys. I think they came out super cute. I like the sparkly silver one in the bottom right corner the best.


They look cute in her room, we just need to make a few more.
 
For me the best part of Christmas is spending time with our loved ones. We are always so busy with others we don't actually sit around and enjoy Christmas Day gifts till the next day. We usually have scones or aebelskivers for breakfast on Christmas morning. We always watch one of the movies we get, this year it was Phineas and Ferb meets Marvel. Then we head over to grandma's. We play games, chat, enjoy company and then eat our tamale dinner.

 We even watched Despicable Me 2 while waiting for everyone to arrive at Grandma's. It was a fun relaxing day with lots of loved one's.  Although my kids got more goodies then they need and I just had to highlight one. My girls got the 2 princess's from Frozen. It was perfect cause not only had we watched it Christmas Eve, but my girls are starting to play together. They love to play the sisters and I love to sit and watch them play together. It was a wonderful Christmas, and I look forward to next year, where we are planning to change things up a bit. Which will be fun to blog about.
 

Thursday, May 9, 2013

Mother's Day Bookmark Printable

One thing I do in my spare time is volunteer my time to work with the 8 and 9 year old girls in my neighborhood. The LDS church has a program for 8-11 year old girls called Activity Days. Twice a month I get to work with these amazing young ladies. Last time we decided to do something for Mother's Day. What could I do that would be easy, nearly free or ridiculously cheap and fun? We ended up making bookmarks.

The bookmark I made is meant to list 10 reason's why you love your mom on one side, and then do an acronym of the word "MOTHER" on the other. Then we tied a ribbon on the top and voila a great homemade gift. I would recommend laminating them first to help preserve the sweet memento.
 
 
The bookmark itself is nothing fancy, but what your kids can do with it is what makes it special!


Thursday, April 25, 2013

Earth Day Fun

Here are some of the fun things we did to celebrate Earth Day this week.
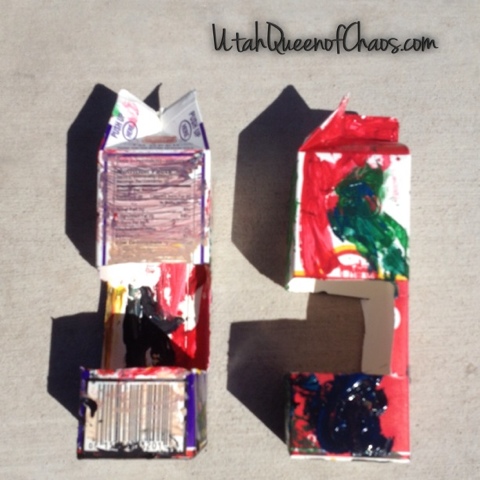
We made recycled bird feeders. When we were moving around a lot we didn't have a lot of room for toys. To replace that we did lots of coloring and crafts. This was one of our favorites when we lived in Louisville, because of all the beautiful cardinals.
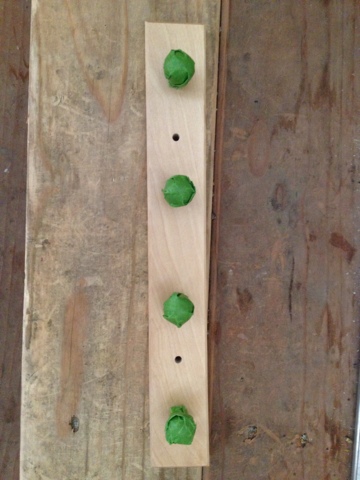
You take this kind of carton, usually use d for whipping cream, half and half or milk. Then you cut out a square.
 
 
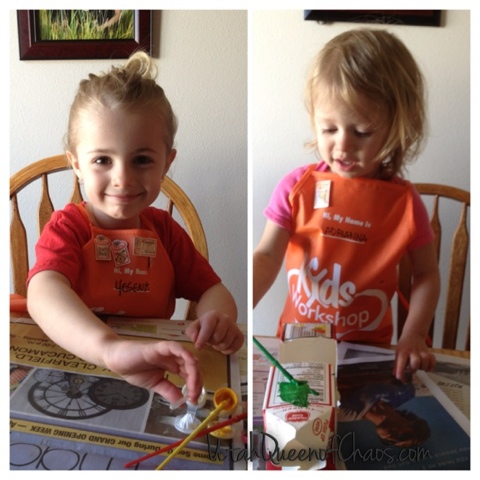
The kids paint them, we add bird seeds and hang them. Really easy, even for the non crafty type like me!
 

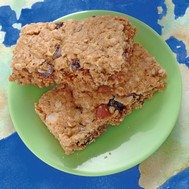
Another thing I have done every year for Earth Day is make what we call Earth Day Bars. I got this recipe out of Family Fun magazine when Kadan was younger, and I have hauled it around with me.

 
Earth Day Bars 

What you'll need

  • 1 1/2 cups baking mix (I use Bisquick)
  • 1 1/2 cups instant oats
  • 1 cup packed brown sugar
  • 1/2 cup softened butter
  • 1 egg
  • 1/2 teaspoon cinnamon
  • ADD-INS:
  • Coconut flakes
  • Chocolate chips
  • Chopped dried pineapple
  • Raisins
  • Chopped Brazil nuts

How to make it

  1. Heat the oven to 350 degrees. In a large mixing bowl, combine the baking mix, oats, brown sugar, butter, egg, and cinnamon.
  2. Stir the mix with a wooden spoon until you have a crumbly dough. Next, customize your international treats by folding in 1 cup total of the add-ins of your choice. (Mine was still too dry so I added an extra egg.)
  3. Press the dough into an ungreased 9- by 13-inch pan and bake for 17 minutes or until the center is set and the bars are slightly brown. Allow them to cool for 10 minutes before cutting. Makes 1-1/2 dozen 2- by 3-inch bars.

I used raisins, chocolate chips and coconut for my add-ins this time. Here is some more information on the add-in ingredients.
Raisins: California, the only place in the United States that harvests the grapes used to make raisins, is the world's No. 1 supplier.
Pineapple: Thailand produces approximately 20 percent of the world's pineapple crop, surpassing the Hawaiian Islands.
Brazil nuts: The complex growing environment this tree crop requires prevents it from being grown on farms. Instead, it's harvested directly from the rain forests of Brazil, Peru, and other South American countries.
Chocolate: Africa's Ivory Coast is the largest producer of cocoa beans, the ingredient that gives chocolate its unique, irresistible flavor.
Coconut: The Philippines and Indonesia are the world's leading producers of copra, or coconut meat.
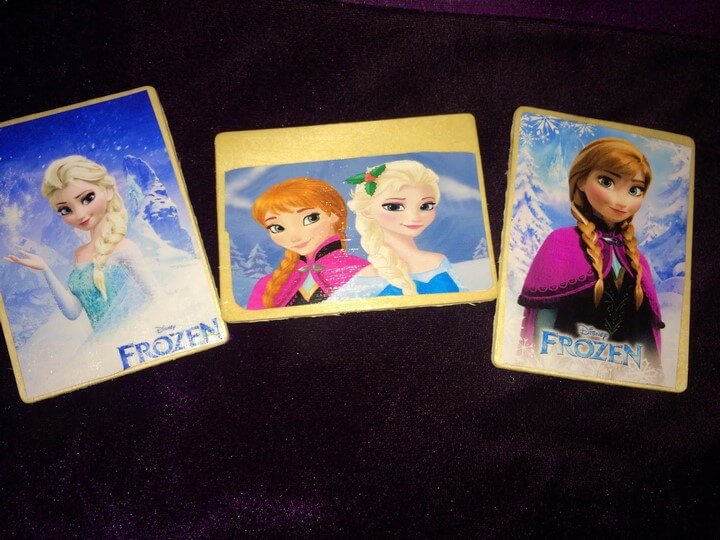
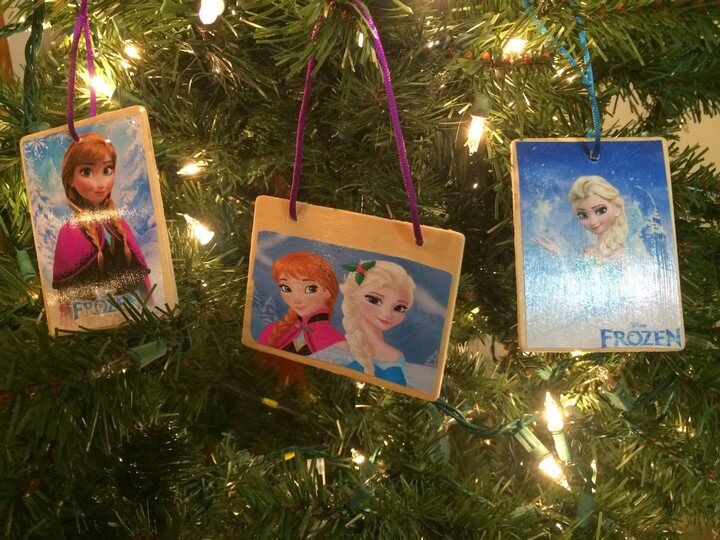
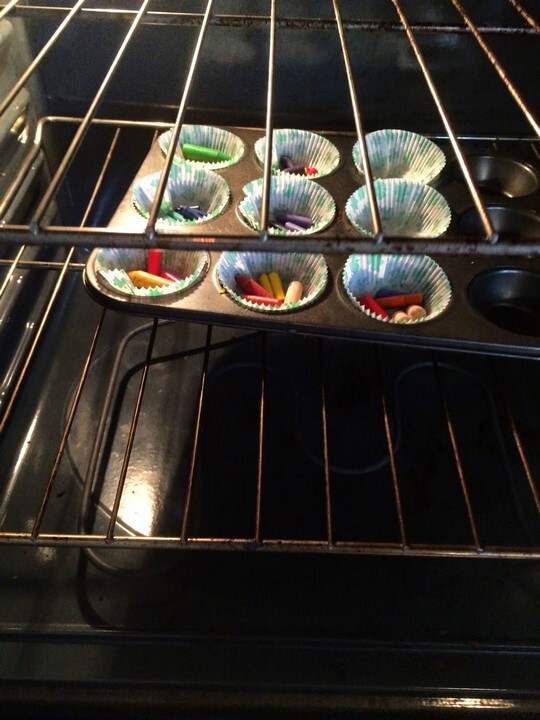
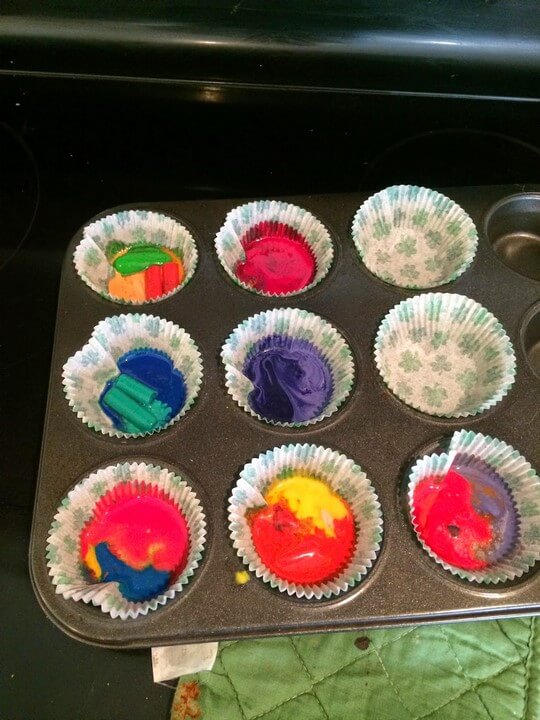
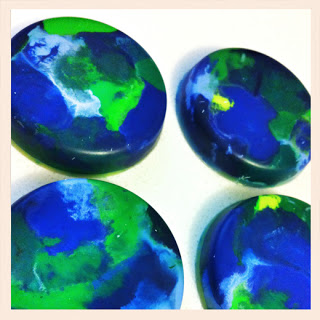
I planned on making these earth crayons, but didn't get around to it. For Christmas last year we made homemade crayons and gave them to the kids friends as gifts with coloring books. There is always next year.
Follow">http://www.bloglovin.com/blog/5100715/?claim=z9pne82bqsy">Follow my blog with Bloglovin

Monday, April 1, 2013

Home Depot Kids Craft


Just wanted to remind people that this Saturday is Home Depot kids craft. Nice thing about Home Depot is that you don't have to sign up in advance and you can show up anytime between 9 and noon (usually.)
This time they are making a bird feeder. Follow this link for more info.

Saturday, March 23, 2013

Lowes Build And Grow Sign Up


Lowe's has fun free build and grow crafts every now and then. You do have to sign up for them in advance and they fill up fast. I try to do reminders on twitter when I come across things like this. Follow me by clicking my link on the right or look me up as @UtQueenOfChaos.


Friday, March 22, 2013

A "Maze" Ing

I was so fortunate to be a guest speaker on one of my favorite blogs Mommy & Me Creations.
You can read my post about Lego mazes here: My guest post.
 
We had a lot of fun making and playing with these. See for yourself in this video of my son trying out my maze.


Wednesday, February 20, 2013

Daring Do-overs

When we lived in American Fork I made lots of new friends from my church. In our church we are given opportunities to visit other women in our neighborhood regularly. I got to know this one particular special lady because of this unique opportunity. She was very talented at decorating on a dime. I tried to glean from her what I could in the 4 years of monthly visits. I feel like I finally have the courage to attempt some of what I learned. Here are a few things I have done lately to add to our home on a budget.
In Yesenia's room she needed something for her books. She would pile them all on her bed at night, so I needed something close to her bed. She also takes books in an out so much it needed to have easy access. So I bought 2 spice racks from Ikea. They cost about $4 each. After assembling them they needed a paint job. The last time Ace Hardware had a free paint day I got a light pink for her room and my mom came along and got a darker pink to accent things. The only thing I didn't like was that it was a flat paint. When it's free though I really can't complain to much. After painting the spice racks I spray painted them with a clear glossy coat. That also only cost about $4. Then I hung them right by her bead and she loves them!


I have slowly been doing what is now Adrianna's room. Once my baby is out of the cradle in my room I will most likely move Adrianna in with Yesenia. I have a few months to worry about that and finish her room. I started with this little hook thing.

 It was left behind by the prior owner in the master closet so I took it down and painted it. It has an Ikea sticker on it, so if they still sell them I am assuming it is a good deal. I taped the nobs with painters tape and bought a cheap glossy purple spray paint at Home Depot. Really easy and now Adrianna's room has a pretty hook thing for her to hanng her coats and things on.
I also painted these picture hooks the same color. I bought them at the goodwill for $1.50 each. I really like it, and if my girls ever want different colors it would be really easy to re-paint.
Before

During

End Result
 
 
I'm ready to start some bigger projects I have set aside. I'll post those once I finish or attempt them. 

Thursday, February 7, 2013

Home Depot Craft & $15 Giveaway


I love free events! Anything to keep my kids busy, is free, or keeps them from messing up my home I am all in favor for! One of our favorites is the Home Depot Craft. The first Saturday of every month they have a free kid's craft. This month being February was a wooden Valentines holder.
 
Kadan (almost 7) is my hands on do it your self  kid. He can do a majority of the crafts with little guidance. Occasionally we make sure a few things are lined right or dad has to do some things that need a little muscle, but overall he does really good. Yesenia (4 yrs old) needs more help. She helps hold things, can tap in the nails half way, and is very good at being patient. When two parents are helping 3 kids, sometimes with fewer hammers than we need patience can be the biggest help of all. Adrianna (almost 2) can't really do any of the craft but she can have fun pretending she can. I help her hammer, or let her think she is hammering. When all is said and done I have 3 very happy kids. Not only did we get out of the house the kids have used their fine motor skills, learned the importance of following instructions, had family bonding time and in the end felt a sense of accomplishment. After completing their craft they get a pin to put on the free apron they also received. 


After the project we got to go home and paint them. Not only is this the messy part, it's the part where mom needs to practice her patience.
 
 
Here's the finished projects. Can't wait to write some fun messages for my kids the next few weeks and put the messages in them.
 
 
Click on any of the following Home Depot Links for more information:
 
 
American Fork Home Depot Free Workshops
$15 Home Depot Giveaway
 
Home Depot has donated a $15 gift card to giveaway. Please leave a comment below to be entered in the drawing. For more entries share this post on Facebook, Twitter, or on your own blog. Leave additional comments for each share. Giveaway closes on Sunday, February 10th at 11:59 MST. Winner will be picked at random thru random.org. Winner will be announced the following day.