
I am thrilled to write a guest post for Jennifer! I was honored that she even asked me about this topic, as it is a huge hobby of mine (but often goes unnoticed, haha). So hopefully from this post you can get a basic idea of nail care, which will result in a better overall manicure when you do it yourself!
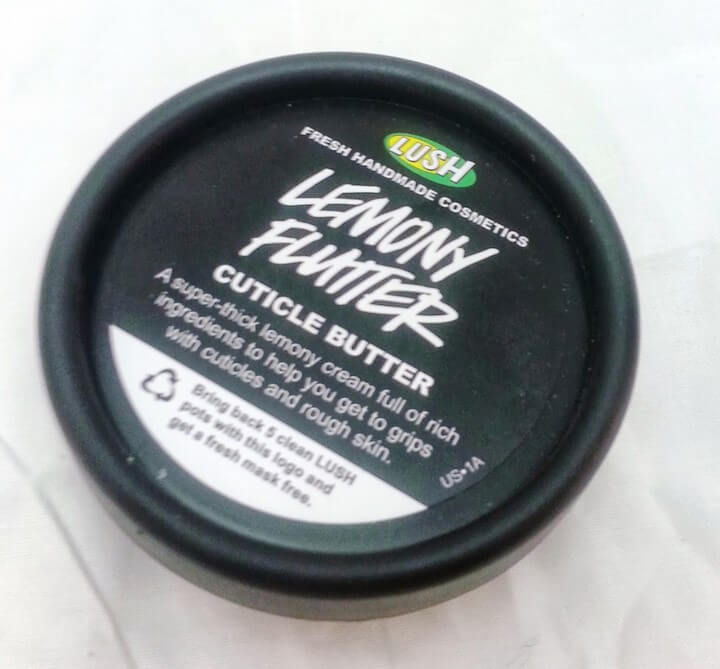
The first essential step of nail care is moisturizing. Especially for your cuticles! Your cuticles do so much work for you as far as protecting your entire nail system [you know, like a respiratory system...except it's everything to do with your nails...ok I totally made that up but I think they should add it to webmd ;)], so you should show them some love. Right now my go to cuticle moisturizer is Lemony Flutter by Lush. While this little jar will last you a while, it's a bit more on the pricey side. Burt's Bee's Lemon Butter Cuticle Cream is another great one, and is more affordable. But even just using a basic lotion or salve and rubbing it into your cuticles will help them out.
|
| Lemony Flutter Cuticle Butter, by Lush |
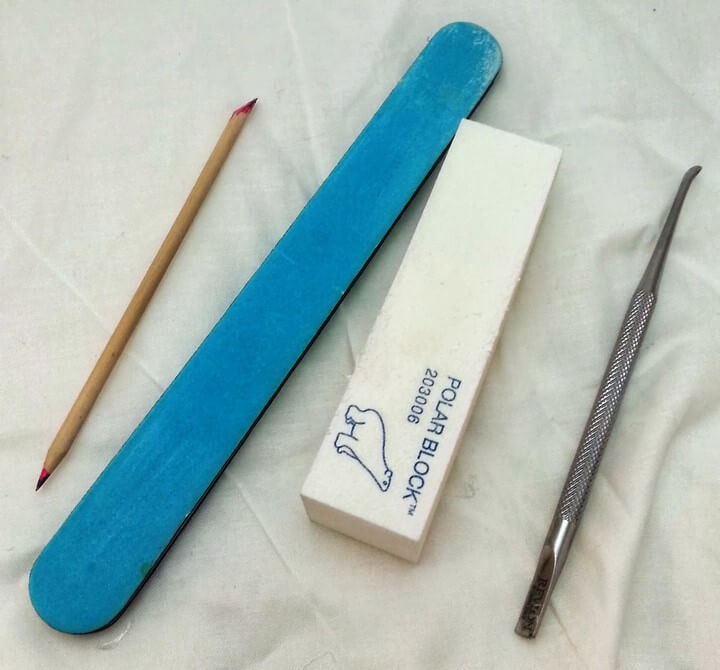
After your cuticles are pushed back, file your nails to your desired shape. File in only one direction along your nail edge. Filing is much better for nail growth than cutting your nails. So if you want those babies to grow and be strong, stick to the file! After filing I use a Polar Block (any nail buffer will do, but the Polar Block is my favorite. It's also only a dollar or less at Sally's Beauty Supply) to smooth the surface of my nails. This helps if you have ridges, peeling, etc. You just want a nice smooth base to paint your nails on.
|
| L to R: cuticle stick, nail file, Polar Block nail buffer, metal cuticle pusher |
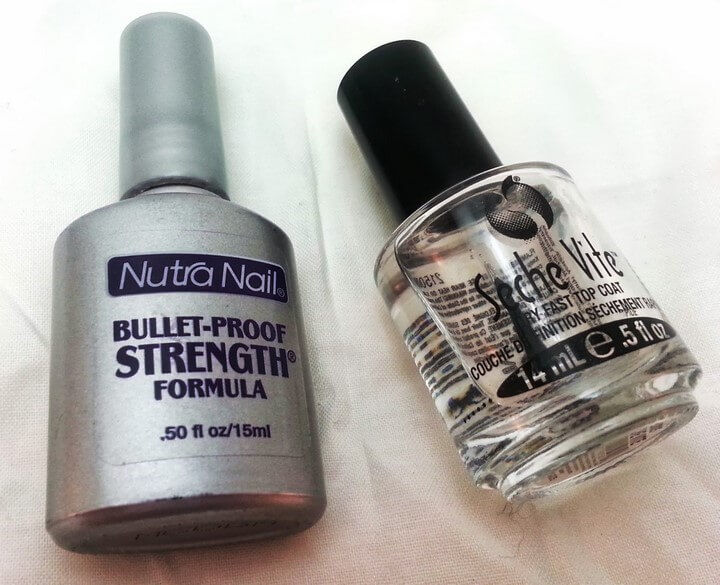
At this point I usually wash and dry my hands, and then you're ready to paint your nails! The first step of painting them is to apply a base coat. This will prevent nail staining from your polish, and will extend the life of your manicure. Right now I use Nutra Nail Bullet-Proof Strength as my base coat. I also really like Beauty Supply base coat (I get mine from Sally's). Your base coat doesn't need to be 100% dry before applying polish, so after I apply it to all my nails then I start with my color.
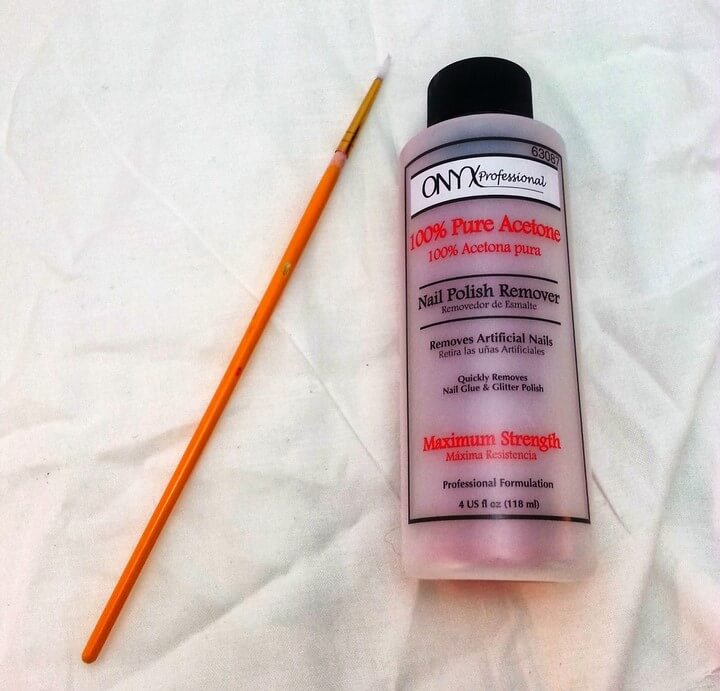
I always have a cuticle stick (pictured above) by my side whenever I paint my nails. That way if I get any polish on my skin I can use the stick to get it right off before it dries. This makes for much easier cleanup. Apply polish in thin coats. Multiple thin coats are much better and will actually dry faster than one thick, goopy coat. I usually wait about 5 minutes (they're slightly tacky but mostly-ish dry) in between thin coats, until I reach desired opacity. Then I finish it off with a fast-dry top coat. My entire life changed when I found out about fast-dry topcoats. I swear I used to wait HOURS before I felt my nails were dry enough to do virtually anything. Right now I'm using Seche Vite Dry Fast Top Coat. Sally Hansen also makes several varieties if you want something a little bit cheaper. There are several brands of fast dry topcoats though, so feel free to look around.
|
| L: Bulletproof, used as base coat. R: Seche Vite, fast dry topcoat. |
|
| I use 100% acetone. It can be drying though, so keep up with your moisturizing! |
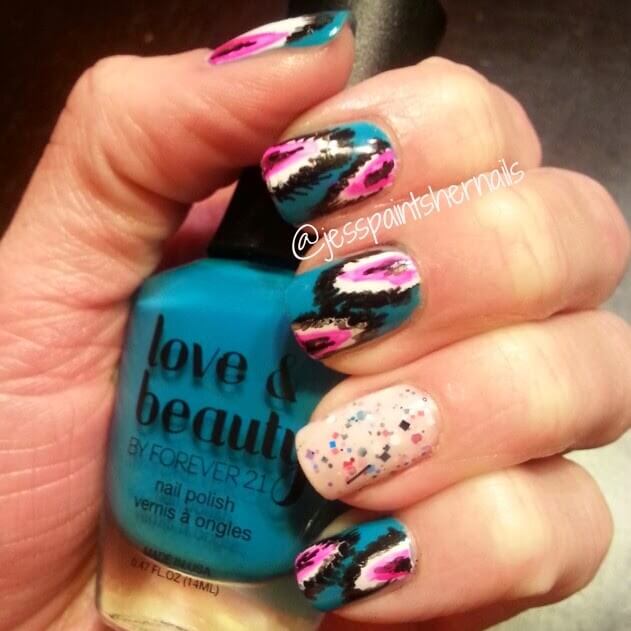
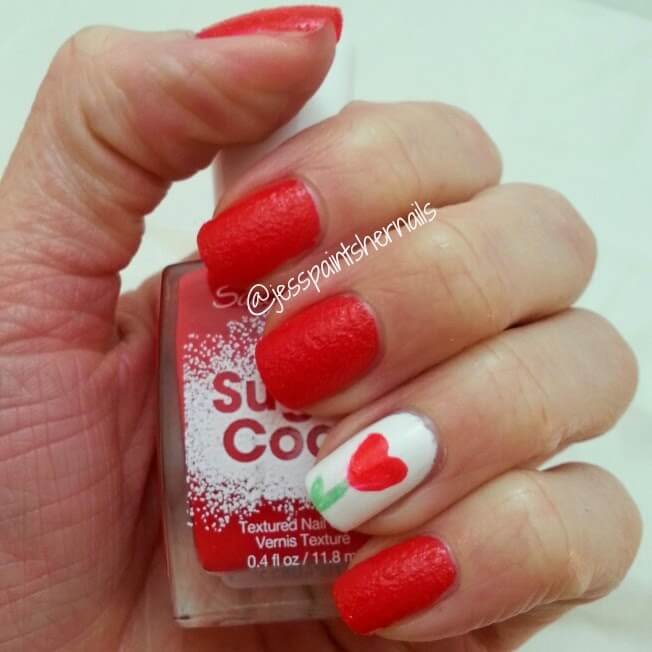
Here are some of my favorite recent designs I've done:
|
| Ikat pattern with a glittery accent nail |
|
| used a texture polish for this. i love hearts. |

|
| leopard print is always awesome in my book! |
Thanks Jess for that post. I had no idea I shouldn't cut my cuticles, let alone how important and useful they really were. I highly suggest following her on instagram not only because she does some creative things, but she always is re-posting giveaways for nail care lovers.